Appointments in Powered Now can all be given a status. These are set up in the Settings and then can be applied per Appointment. This can have multiple purposes such as Once an engineer has completed their work they can update the appointment status to "Complete" letting the office staff know that the job requires to be invoiced. If you've got different departments within your business this can be used to easily determine which appointment belongs to which department.
Below I will show you how to set up the status and apply it to a project.
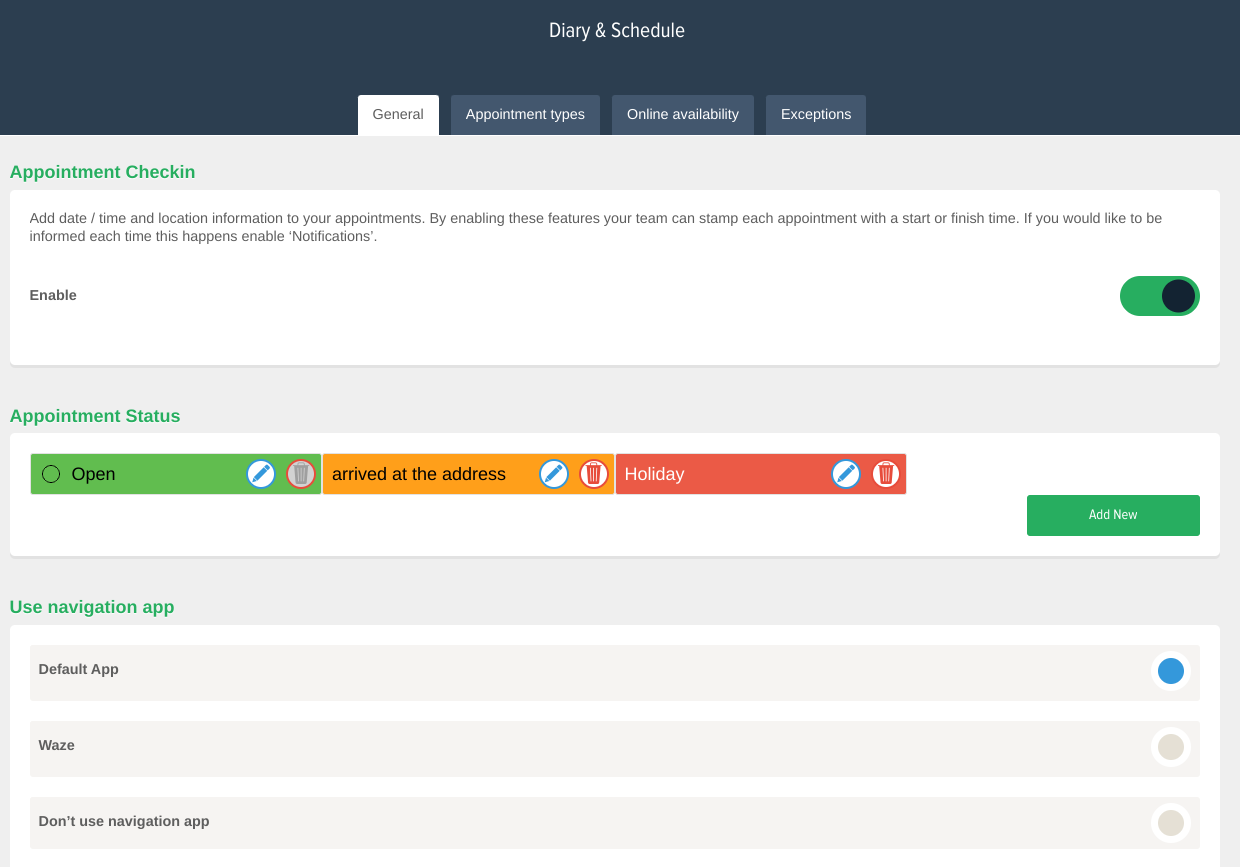
- Hop into the Settings (cog) and then Diary & Schedule
- In there scroll down and you'll have the Appointment Status where you can create and edit your own personalised statuses
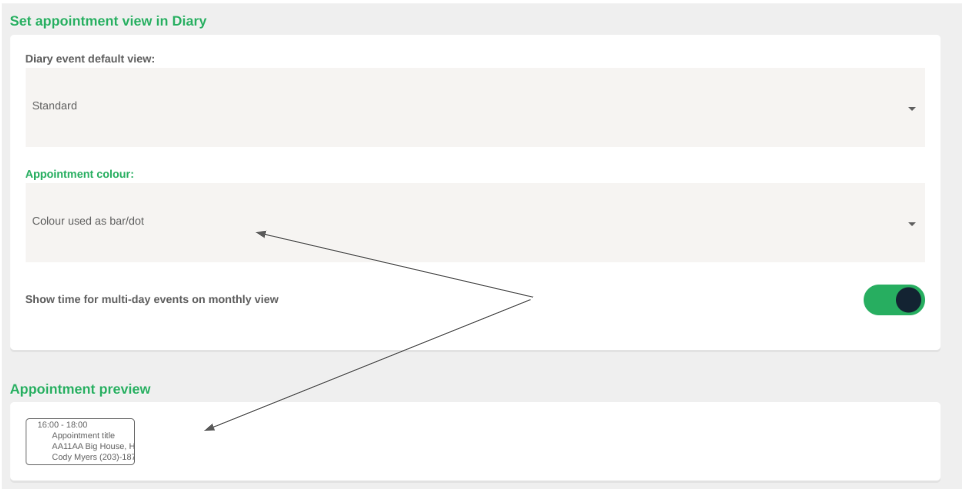
If you then scroll further down, there will be a Appointment Colour drop down where you can choose how the appointment status is displayed on the appointment. You can choose to have a strip down the side of the appointment, a small dot or have the full appointment display on the colour that the status is set too. Just underneath the drop down will be a preview for you to see how the appointments will look in your diary.
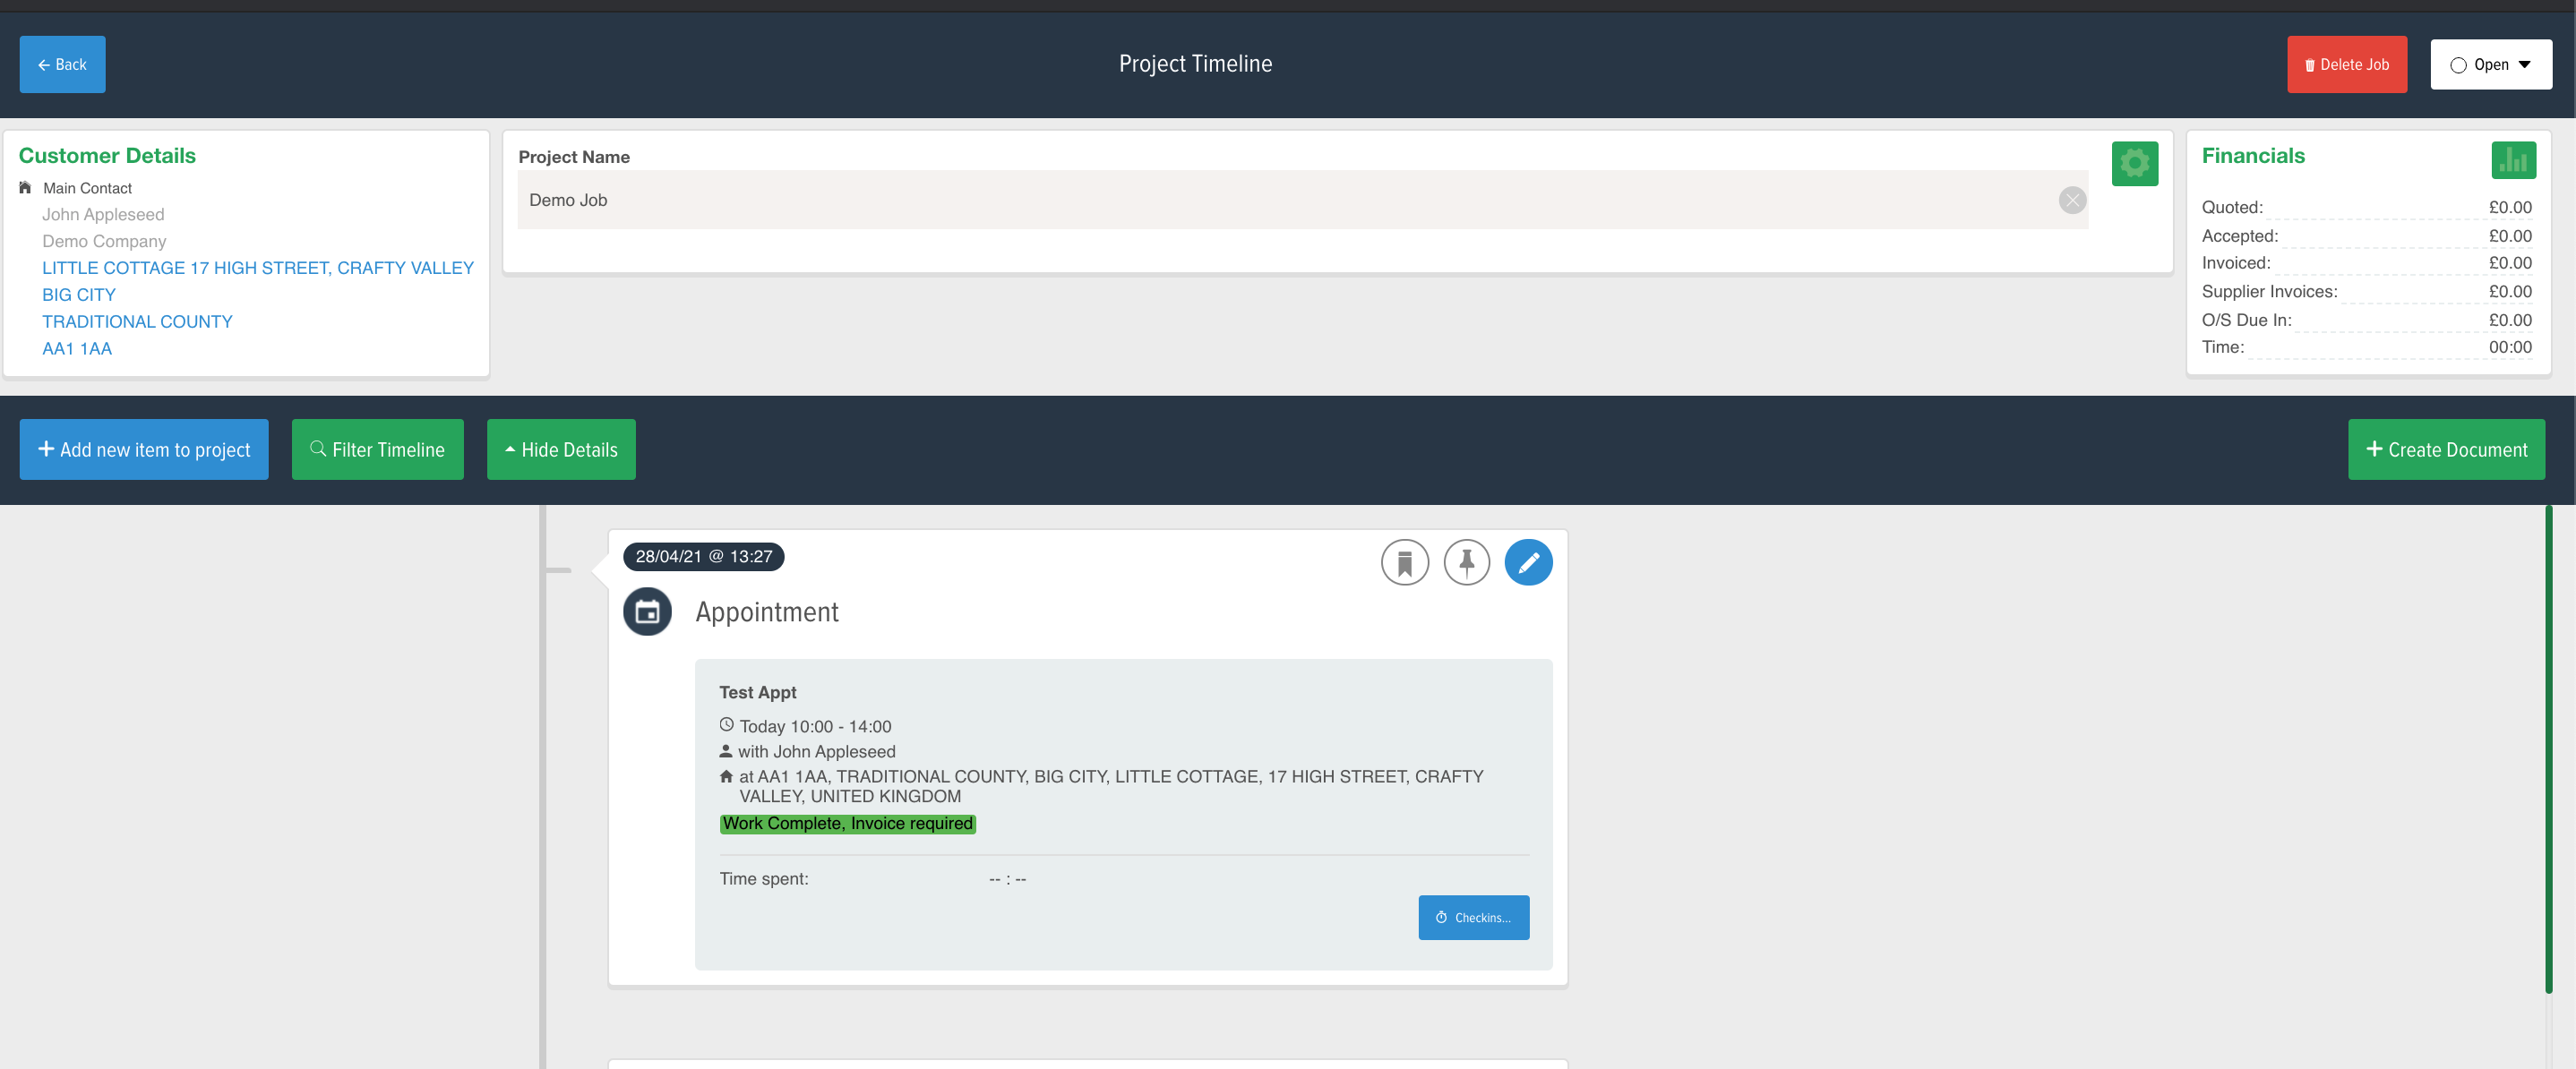
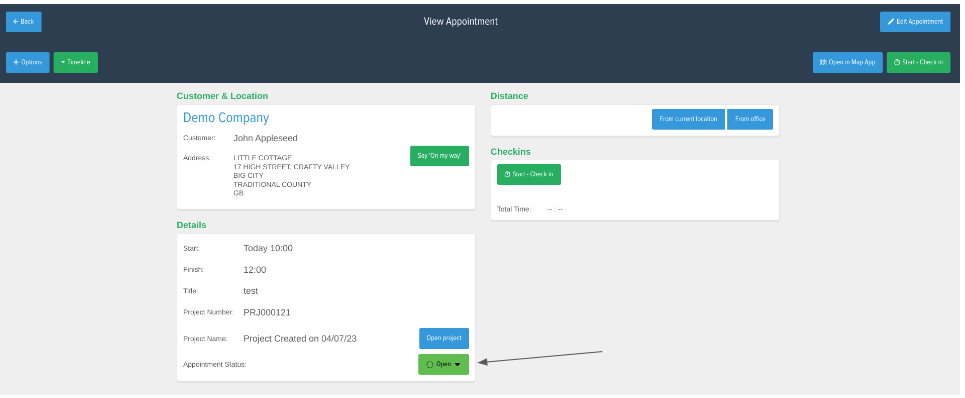
Once you've added in some customer Statuses you can then begin to start applying them to your appointments, If you go into the Diary Tab and click into an Appointment you will be able to change the status at the top right side of the screen.
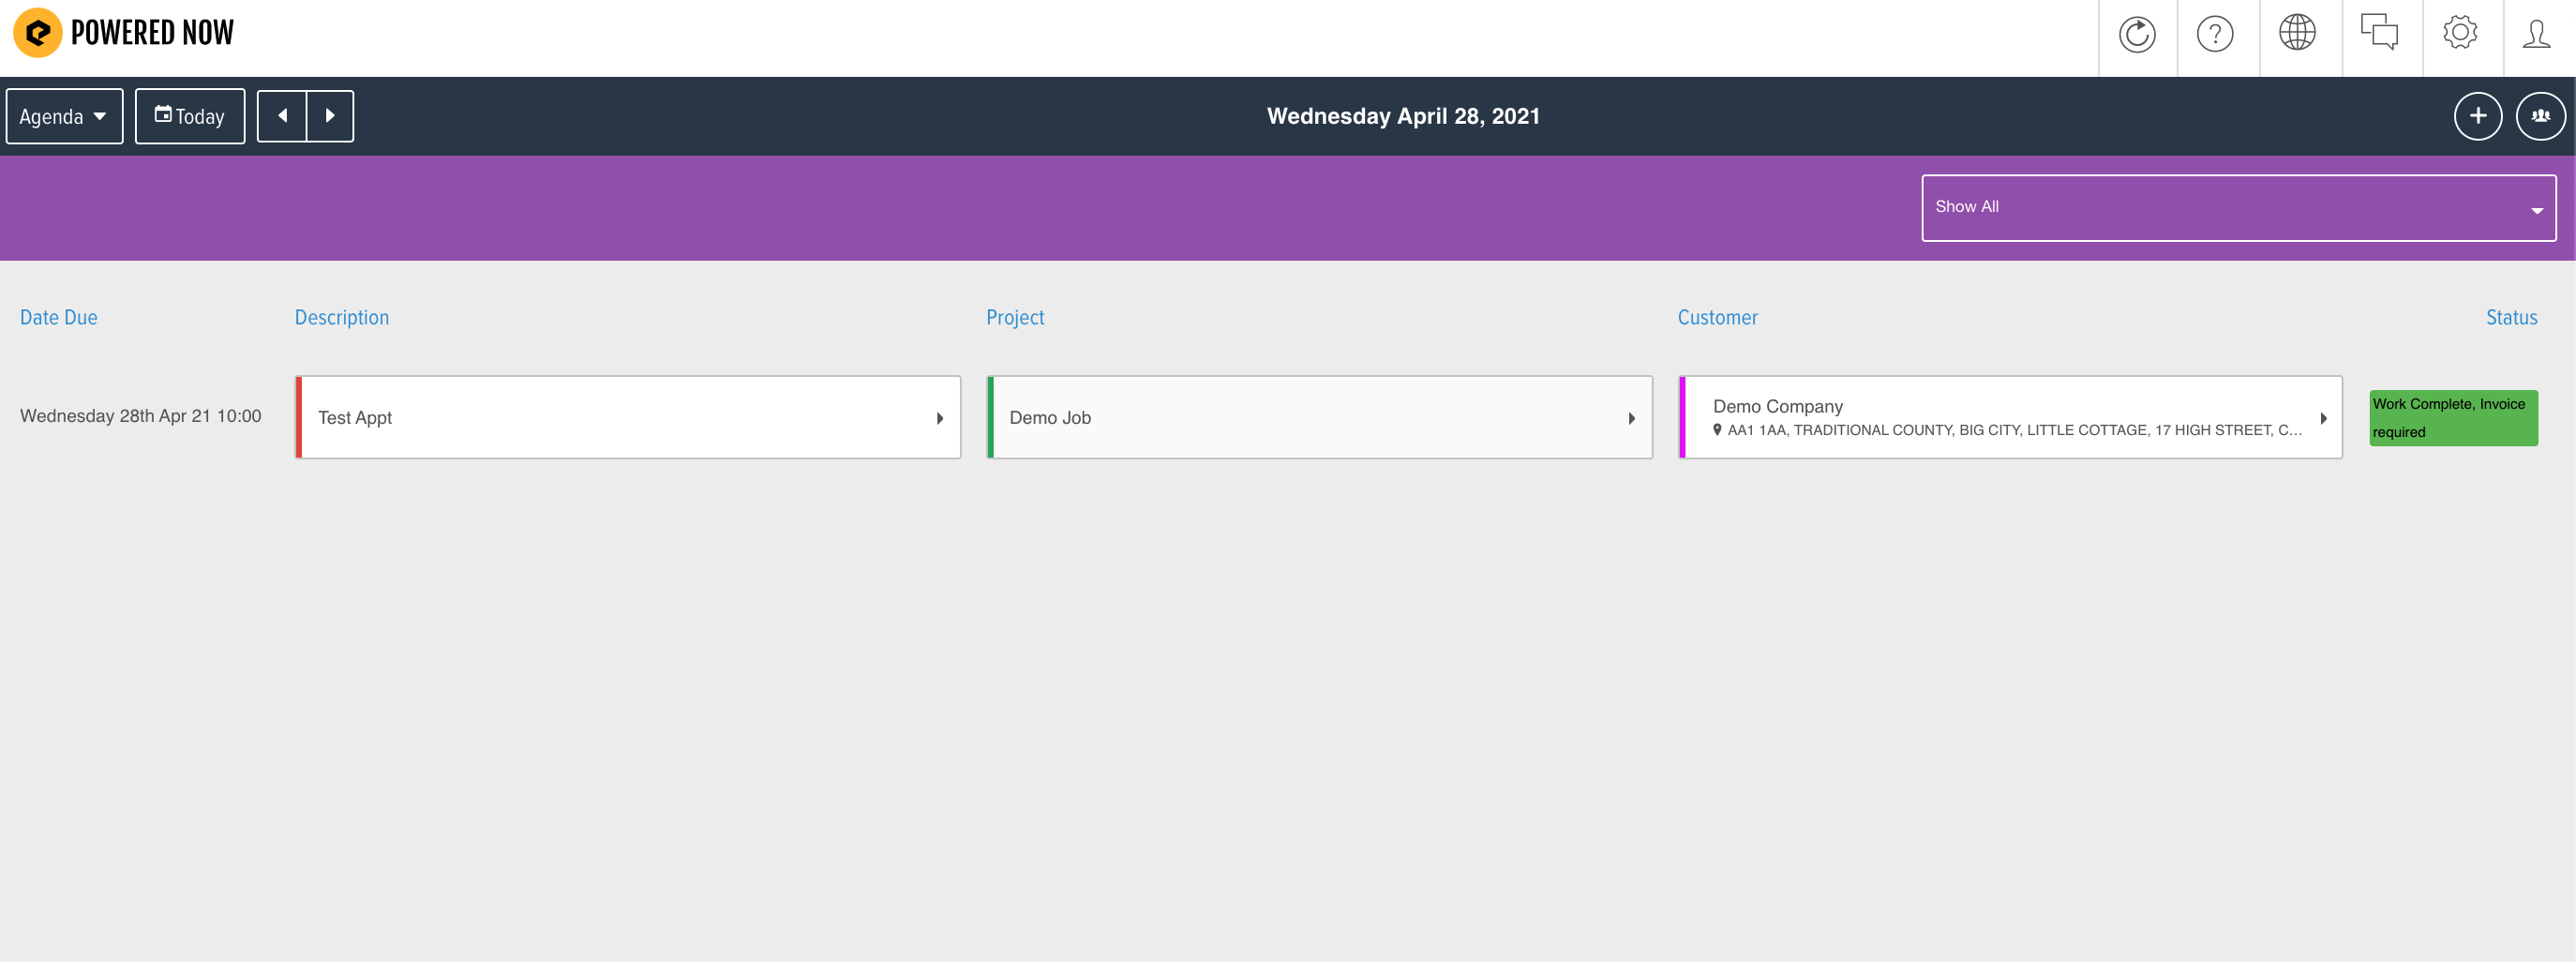
The new Appointment Status can also be see within the Agenda view of the diary and also within the Project Timeline