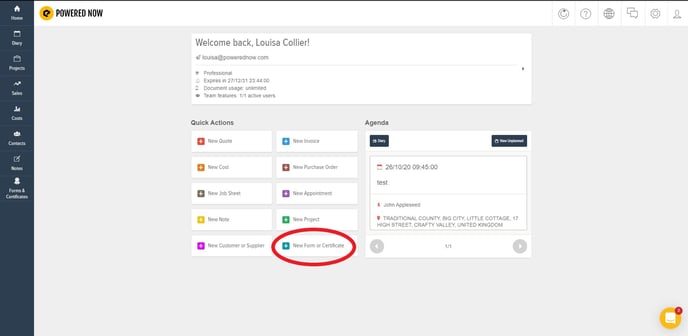
- Use the Forms & Certificates Quick Action button on the Home Screen.
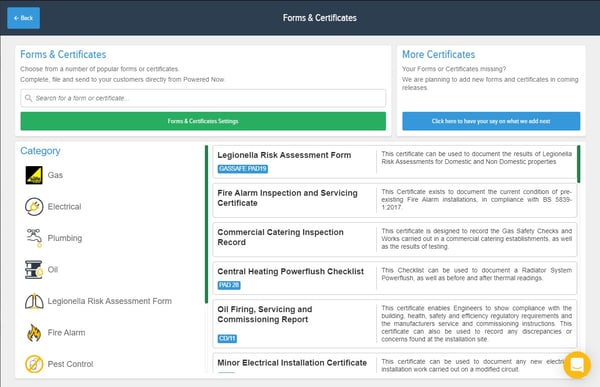
- Select the desired Certificate from the list.
- Select your Customer.
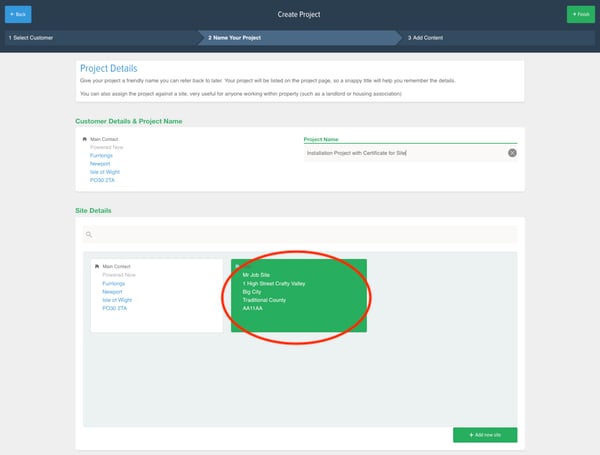
Note: If you would like to create a Certificate with a different Site/Installation Address than the Contact’s main address, then you must select this Address from the Site list before creating the Project. If no Site is selected, the system will assume that the Installation/Site address is the same as the main user’s and apply that address to both fields. - Give the Project a name you will recognise.
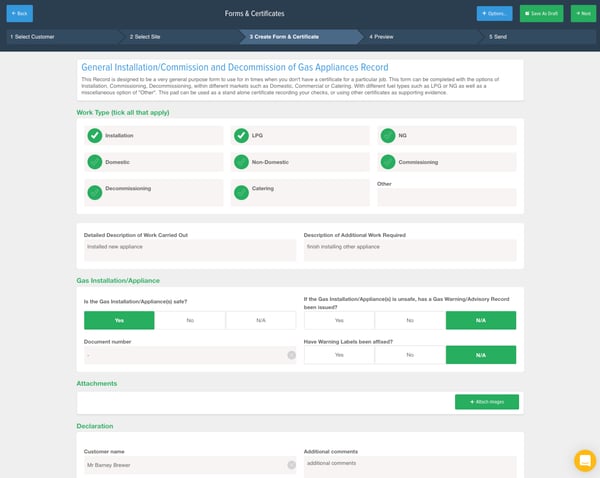
- Fill out your Certificate.
- Send it!
Once a Certificate is Confirmed, it can still be edited like a standard Powered Now document. However, once a Certificate has been sent, its contents enter a Locked state, which prevents the document from being edited further.