- Help Center
- Getting Started Guide
-
How to Raise a Support Ticket
-
Powered Now Features
-
Getting Started Guide
-
Frequently Asked Questions
- Sales: Invoices, Quotes, Worksheets
- Contacts, Customers and Sites
- Costs: Purchase Orders, Expenses, Supplier Invoices
- Diary and Appointments
- Finances: Payments, Reports, CIS, VAT Returns
- Forms and Certificates
- Xero
- Projects
- Account Settings
- Customer Portal
- Team Features
- Not working? How to fix. (Troubleshooting)
- Other Questions
-
Book Training
-
Forms & Certificates
-
Portal FAQ
-
Go to the Powered Now Community
Lesson Eight - Creating a Project and Adding Some Content
Projects are a great way to keep on top of your customers
In the previous lesson, we learnt how projects can be used to make your life easier, in this lesson we are going to create a new project, add some content to it and turn it into a document.
To start with, tap on the new project button.
Choose the customer and give the project a name.
You are now in the project timeline. From here we can add content by selecting the Add new item to project button.
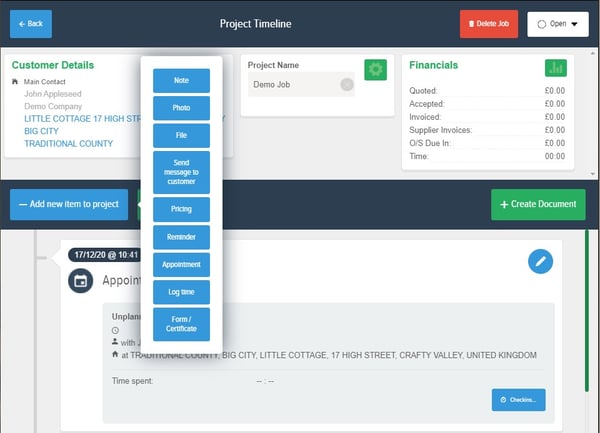
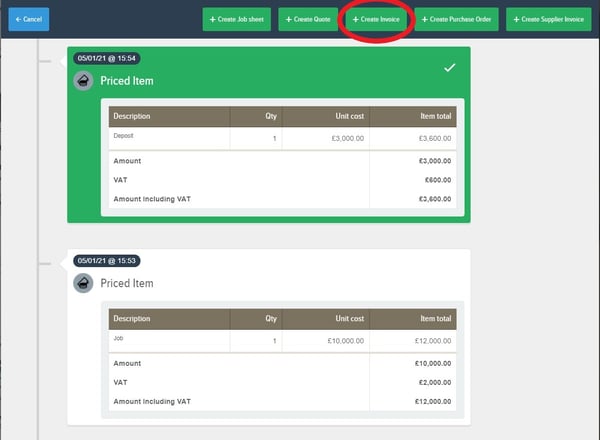
You can add as much content as you would like to the timeline and can then produce documents from that information, e.g.: