Powered Now has the ability to add documents such as CSV files and PDFs to your projects. Here we will explain the steps to upload your document.
Go to the project in question and open the timeline and click Add new item to project.
You will then see a drop-down list, select File.

It will then ask where you would like to upload from. Select the file you want to upload and then click Upload.
Give it a title or description if necessary and click Confirm.
Your document has now been added to the project and will display like this.
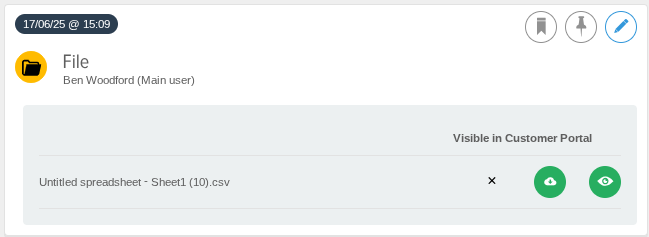
By clicking the cloud icon it will download the file to your device for you to keep if you don't have it on the device you're viewing it on.
Alternatively if you click on the eye button, it will allow you to view the document while remaining in the app
Make files visible for customers
If you are on the premium tier and use the Customer Portal, you will have the ability to upload files into the customer portal for your customers to see and download on their end. For this, when you upload the file from your device and before you save it to the project, you'll have a switch when you can make it visible in the portal.
Once a file is saved to the project, it will have a tick or a cross against the file for you to know whether it is visible in the portal for the customer

This switch can later be turned off though if you ever have any files you no longer want visible in the portal. For this click the pencil icon next to the file in the project and flick the switch off.