This article will show you how to edit the text/email sent to your customer when you set up an appointment with them or go to send them a quote or invoice. As well as setting up automated reminders
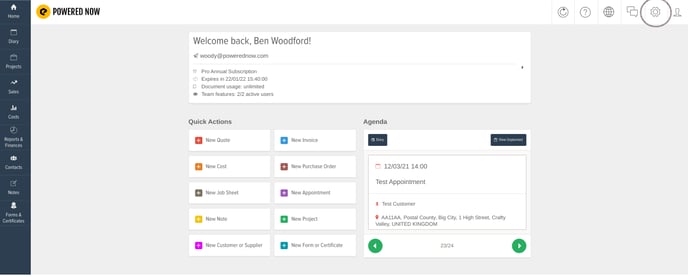
Go to your 'Settings' (the cog in the top right corner)

The Communication & Reminders tab is the dark purple in the bottom right.

The method of notifying can be notified by email and by text message. If you enable it, then notification triggers as well. You can notify on appointment creation, notify on appointment date and time, or assign assignment change, notify on cancellation of appointment and notify the customer on going to the appointment as well. These are very specific to the appointments that can be triggered and they can be created by the customer from the Customer Portal.
This will make a lot more sense when you go and set up the diary and allow your customers to book appointments via the Customer Portal.


The second page allows you to configure reminders for quotes and invoices. You can create up to three automated email reminders for each, designed to notify customers who have not responded to your quote or who are overdue on their invoice payments.

The third page is internal notifications. You can send notifications via email, send notifications email to the company email so you can have a copy of all of that within your email. Enable in-app notifications. You can be notified when a customer has accepted or rejected a quote, payment has been made, start of appointment and reminders all of the same notifications that were available to you and now within this part of Powered Now.

The fourth page is message contents.This was in the document and logo settings originally. Now this is all moved over to the communications tab, so I'm just on the new invoice button currently.

