Adding an expense
Adding an expense is simple, simply follow these instructions:
- Click the Costs button on the left hand side of the page
- Click the Expenses tab at the top
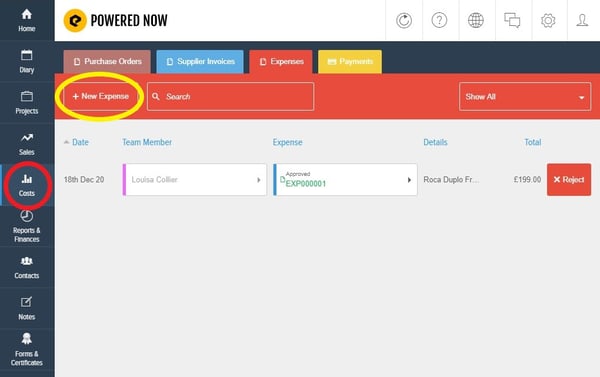
- Click New Expense and choose Single Expense Entry
- Click Add New Item
- Add the expense information into the description box. For example: Diesel, Van repairs, tools, etc.. Any general business expenses.
- You can also add a photo if required
- Click the Price (£) box to add a price - when entering an expense, you enter the amount including VAT.
- Click Save
- Click Next
You can amend the expense date if, for example, you need to back date the expense date. You will need to show the same date as shown on the receipt.
- Click Next
- Click Confirm
To mark your receipt as paid
- Click the blue Options button
- Click Payment
- Choose how the expense was paid (payment type) and when the payment was made.
NB. Expenses will only show in your Financials once you have marked them as paid.
Pro Account Subscriptions
Expenses are automatically approved when a Manager or Main User creates them. If an Engineer enters an expense it is subject to approval of the Manager or Main User. They have the ability to either Approve or Reject the expense once it has been created. If the expense is rejected, the engineer will be advised that the expense has been rejected.
Please note: Expenses can be viewed altogether in the expense page and can be exported via the Reports & Finances tab.